


Caring for Hydrangeas: From Planting to Creating Beautiful Bouquets
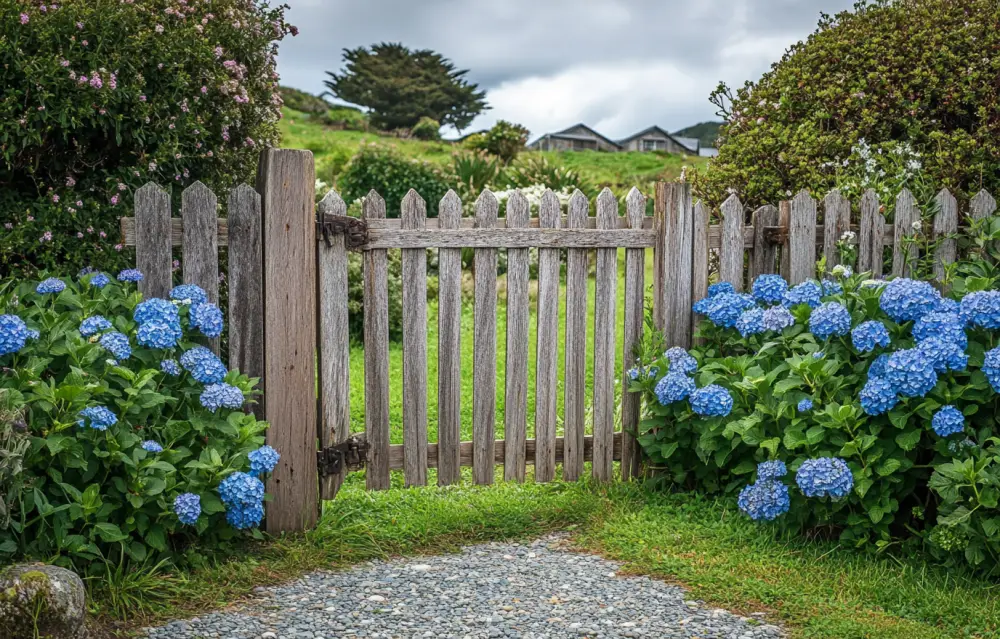
With their rich, colorful flowers, hydrangeas are a perennial choice for bouquets, planters, and gardens. When given the right care, these gorgeous flowers flourish whether you're using them in front yard garden ideas, raised garden bed designs, or in combination with other plants like green beans or potatoes. You may turn your area into a vibrant, blossoming paradise with a little work.
RELATED: 27 Perennial Plants That Will Keep Your Garden Blooming
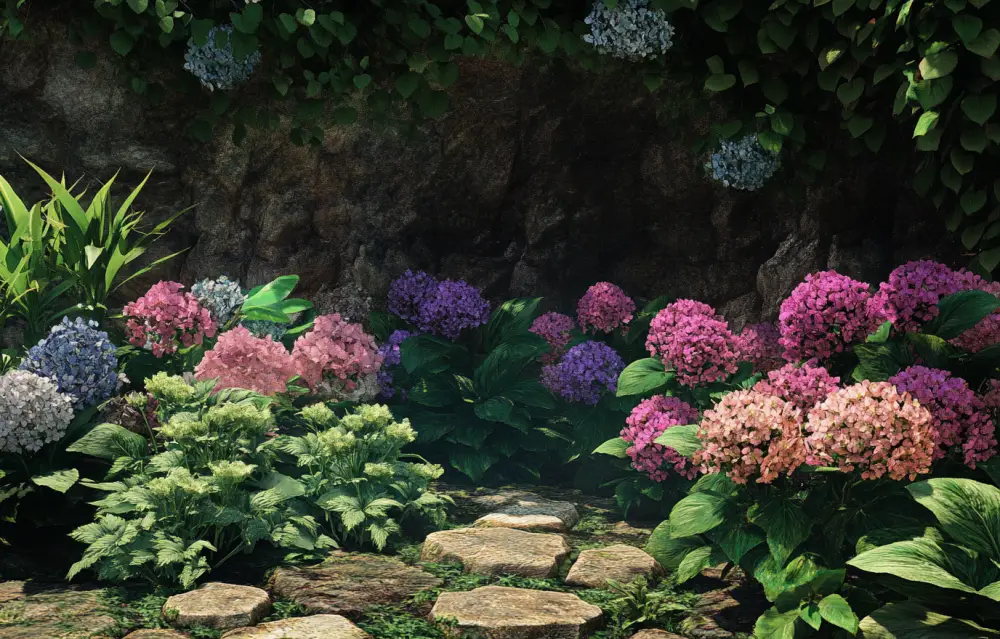
Hydrangea Types
Though there are many lovely types to choose from, hydrangeas are most famous for their eye-catching blue and purple blossoms. These are a few of the most common varieties of hydrangeas that you might want to include in your landscape.
RELATED: The Toughest Hydrangea Varieties That Will Grow Well in Your Zone
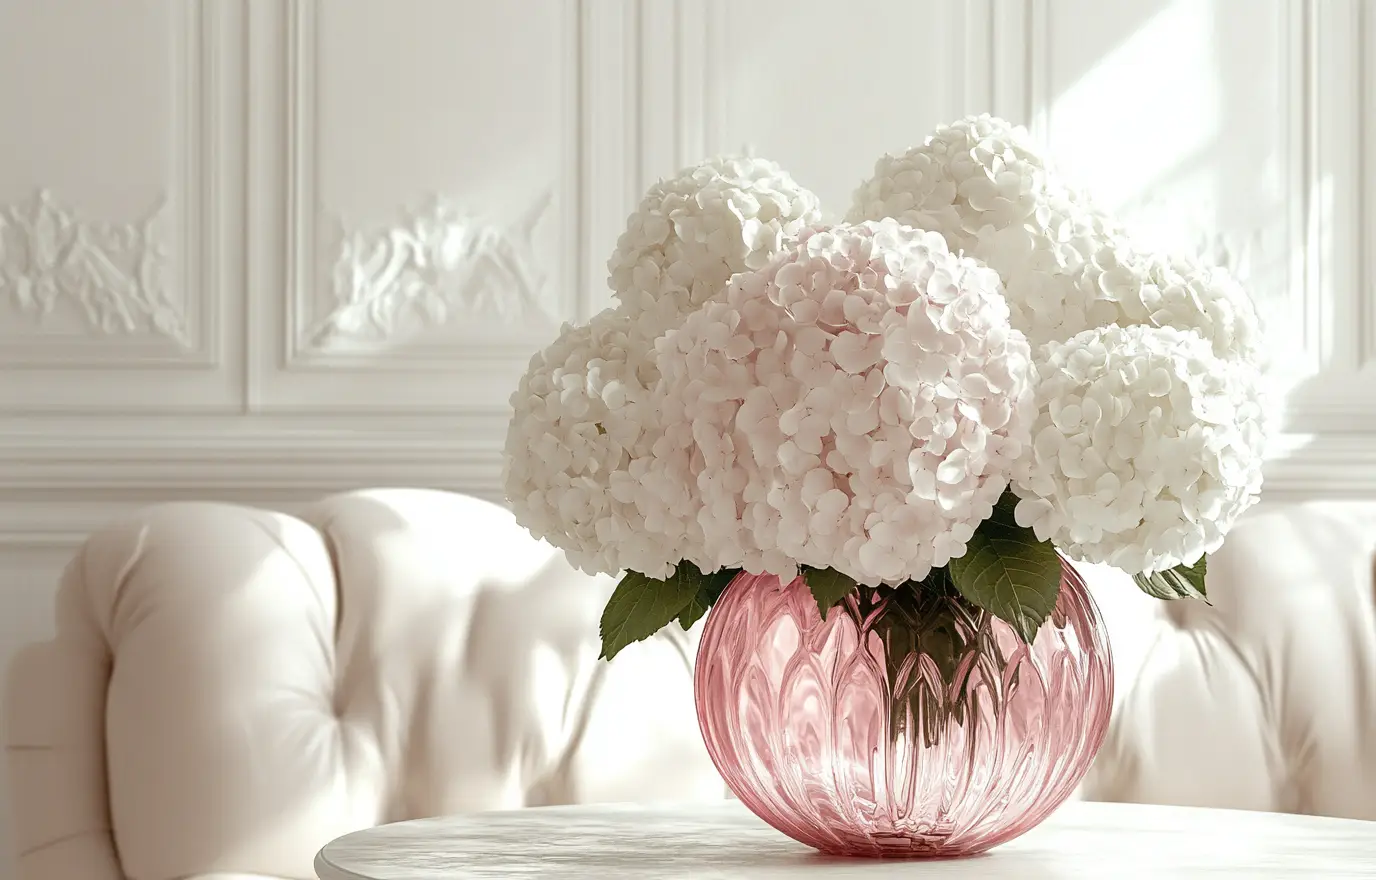
Smooth Hydrangeas (Hydrangea Arborescens)
These hydrangeas are known for their large white blooms, resembling snowballs. They grow quickly and require minimal fertilizer.
- USDA Hardiness Zones: 4 through 9
- Size: 3 to 5 feet tall and wide
- Soil pH: No effect on color
- Blooms: On new wood
Panicle Hydrangeas (Hydrangea Paniculata)
One of the most common types, panicle hydrangeas feature cone-shaped blooms that start in early summer and change to parchment, pink, and red hues in fall. They can be grown as shrubs or trees. Varieties like Berry White and Vanilla Strawberry are popular.
- USDA Hardiness Zones: 3 through 8
- Size: 10 feet tall and wide
- Soil pH: No effect on color
- Blooms: On new wood
Oakleaf Hydrangeas (Hydrangea Quercifolia)
Named for their oak-like lobed leaves, oakleaf hydrangeas are native to the southeastern U.S. They bloom green before transitioning to white, pink, and brown, and feature reddish-brown bark that peels away naturally.
- USDA Hardiness Zones: 5 through 9
- Size: 8 feet tall and wide
- Soil pH: No effect on color
- Blooms: On new wood
Bigleaf Hydrangeas (Hydrangea Macrophylla)
These are the classic hydrangeas often seen in gardens, with large, vibrant clusters of blooms in blues, purples, whites, pinks, and reds. Their big, bold leaves make them stand out.
- USDA Hardiness Zones: 5 through 9
- Size: 3 to 6 feet tall and wide
- Soil pH: Blue blooms in acidic soil, pink blooms in alkaline soil
- Blooms: On old wood
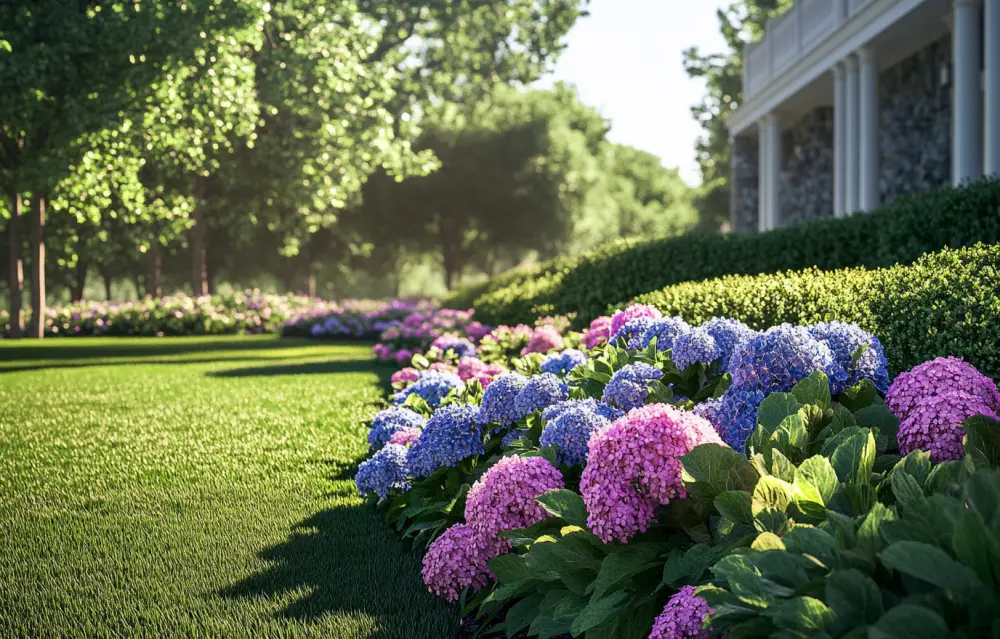
How Hydrangeas Should Be Maintained
Hydrangeas are prized for their vivid, detailed flowers and are simple to cultivate with proper care. As long as they have the proper soil, water, sunlight, and temperature, these plants flourish.
RELATED: 5 Garden Hoses You Can Count On: Our Top Picks
Temperature and Season
The spring or fall months with moderate temperatures are ideal for hydrangea planting. Hold off on digging until the soil has thawed and the final frost has passed in the spring. Avoid planting too late in the fall since frost can harm the plants. Avoid planting in the summer on days that are extremely hot and sunny. Midsummer is usually when hydrangeas peak, and they continue to bloom until the fall.
Hydrangeas need additional protection from the cold throughout the winter months. To protect sensitive buds from temperature fluctuations, cold nights, and high winds, place 6 to 8 inches of mulch, leaves, or pine straw around the base of the plants. Additional support, such as a protective cage, may be beneficial for younger plants to shield them from adverse conditions.
Soil
The ideal soil for hydrangeas is moist, well-draining soil. Gypsum or organic matter can be added to clay-based soil that retains too much water in order to enhance drainage and encourage growth. Compost helps maintain enough water and nutrients in sandy soil so that hydrangeas can grow and thrive.
The pH of the soil can affect the color of hydrangea blooms. Pink blooms are produced by alkaline soil with a higher pH, whilst blue blooms are produced by acidic soil with a lower pH.
Use a soil testing kit, which is frequently available at garden centers or nurseries, to find out the pH of your soil. Add sulfur or aluminum sulfate to the soil to make it more acidic for blue flowers. Use dolomitic lime to increase the alkalinity of the soil for pink blooms. To maintain your plants healthy and prevent overcorrection, make changes gradually.
The fertilizer
In soil that is naturally damp and nutrient-rich, hydrangeas might not require much more assistance. However, using a balanced 10-10-10 fertilizer might provide the plants with an energy boost to produce more flowers, hence encouraging maximum blooms.
Apply the fertilizer according to the directions on the product as soon as new leafy growth starts to appear in the spring for the greatest results. Under the entire drip line of the plant, which is the region where the branches reach, uniformly distribute the fertilizer. Hydrangeas' shallow roots guarantee that the nutrients are efficiently absorbed by the entire root system.
RELATED: How to Create an Effective, Chemical-Free Homemade Weed Killer
Light
Hydrangeas prefer conditions with some shade. Give it five to six hours of early sunlight and then dappled or filtered shade in the afternoon for optimal growth. Choose to plant in spots that receive two to three hours of early sunlight and are shielded from the more intense afternoon heat in warmer climates. To encourage good development and blooming, make sure the soil is prepared and spaced appropriately.
How to Grow Hydrangeas
Step 1: Get the hole ready
- Create a hole that is just a little bit bigger than the hydrangea's container.
- Give the plant ample room to reach its full size.
- To encourage healthy growth, add a tiny bit of high-phosphorus fertilizer to the hole's bottom.
Step 2: Set the Hydrangea in Place
- Using your fingers, carefully remove the hydrangea's roots after removing it from its container.
- Make sure the crown, or the area where the stem and dirt meet, is level with the ground as you place it in the hole.
Step 3: Water and Cover
- Cover the roots firmly with earth after filling the hole.
- Make sure the soil is damp but not soggy by giving the plant plenty of water.
Step 4: Preserve the conditions of the soil
- Make use of moisture-retaining loamy soil, which is a mixture of clay, silt, and sand.
- Throughout the first season or two, make sure the soil stays consistently moist by checking it frequently.
Step 5: Select Your Growth Approach
- Buy a shrub at a garden shop for a faster start.
- If starting from seeds, carefully disperse them in the ground. It could take two to three years for seeds to develop into a shrub as large as one from a garden center, so have patience.
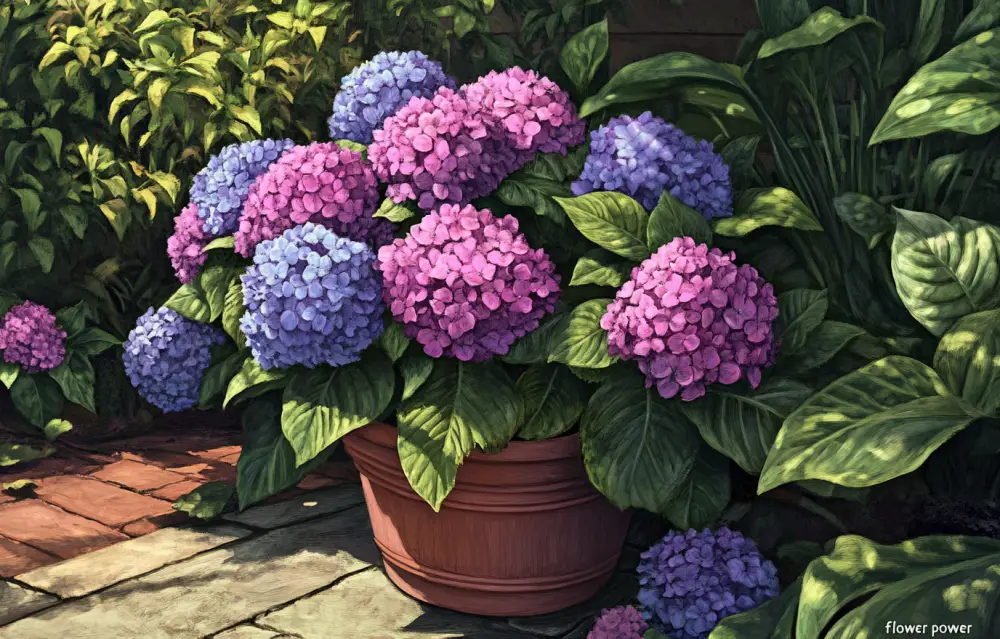
Growing Hydrangeas in Pots
Step 1: Ensure Proper Drainage
- To enable extra water to drain out, pick a container with drainage holes at the bottom.
- Water may pool around the roots in the absence of adequate drainage, resulting in withered leaves and fewer blooms.
Step 2: Choose the Right Container
- The quantity of hydrangeas you choose to plant and if you plan to add other flowers will determine the container's size.
- Larger containers need less regular watering because they can hold more soil and water.
Step 3: Use Pre-Mixed Potting Soil
- Pre-mixed, bagged potting soil should be added to the container, leaving about 8 inches of room at the top.
- After placing the hydrangea in the middle of the pot, surround it with soil.
- To avoid overflow during watering, leave 1 inch between the soil and the container's top.
Step 4: Consistently Water
- Potted hydrangeas require frequent watering, much like in-ground ones.
- Stick your fingers into the soil to check its moisture content; if it seems dry, water it.
- Because plants have less soil to retain moisture, potted hydrangeas may require more regular watering.
Step 5: Optional: Add Additional Flowers
- In larger planters, combine your hydrangeas with different flowers for a vibrant presentation.
- For optimum growth, make sure every plant has comparable requirements for water and sunlight.
Typical Hydrangea Problems and Their Fixes
Although hydrangeas are being bred more and more to withstand pests and diseases, several frequent issues can still occur, especially in arid or harsh areas. Here are some things to look out for and how to deal with these problems.
1. Leaf Spot
- Cause: A fungal disease often caused by excess moisture on leaves, particularly affecting oak leaf and panicle hydrangeas.
- Appearance: Dark brown, wet-looking spots on both sides of the leaves.
- Prevention and Treatment:
- Avoid overwatering.
- Prune to improve air circulation.
- Apply a fungicide if the problem persists.
2. Powdery Mildew
- Cause: Shade and overcrowding can lead to this white, powdery substance on bigleaf hydrangeas.
- Appearance: White residue on leaves, causing them to yellow or brown and eventually die.
- Prevention and Treatment:
- Reduce moisture and ensure proper airflow.
- Remove affected leaves to stop further spread.
3. Spider Mites
- Cause: Spider mites weave webs around flowers and suck nutrients from the plant.
- Appearance: Tiny holes resembling freckles on leaves.
- Prevention and Treatment:
- Natural predators often control spider mites.
- If necessary, apply insecticide to address significant infestations.
4. Aphids
- Cause: Aphids feed on leaves, causing yellowing and withering.
- Appearance: Clusters of green or black insects on the underside of leaves.
- Prevention and Treatment:
- Spray leaves with a strong stream of water to dislodge aphids.
- Use insecticidal soap to wash affected leaves.
5. Beetles (Japanese and Rose Chafer)
- Cause: Beetles feed on leaves and flowers, leaving skeletonized foliage.
- Appearance:
- Japanese beetles: Metallic green and feed on leaf tissue.
- Rose chafer beetles: Tan and about 1/3 inch long, skeletonizing leaves and flowers.
- Prevention and Treatment:
- Remove beetles by hand and soak leaves in soapy water to kill eggs.
- Spray plants with Neem oil or use a preventative insecticide.
Maintaining the health and blooming of your hydrangeas requires routine observation and prompt action.
How to Maintain a Bouquet of Hydrangeas
When properly maintained for, hydrangea bouquets can last up to two weeks. To maintain the freshness and vibrancy of your flowers, adhere to these guidelines.
Select Healthful Blooms
- Look for strong, bouncing blossoms and vibrant green leaves.
- Steer clear of flowers with black petals (which could be an indication of damage from cold storage) or browning spots (a symptom of solar damage).
- Choose robust blossoms that aren't spongy or fragile.
Cutting Flowers in the Garden
- Cut hydrangeas at a 45-degree angle with a floral knife or sharp, clean shears.
- Cut flowers early in the day for optimal effects.
- Select full-looking, mature flowers that have a papery texture so that younger buds can continue to blossom.
- While working, immerse freshly cut stems in lukewarm water.
Get the stems ready.
- For hydrangeas to absorb water, their sap must be sealed.
- To seal each stem, dip its cut end in alum powder (available in the spice section).
- For the same result, you can also submerge the stem in boiling water for ten seconds.
- To stop the leaves from absorbing too much water, remove them from the stems.
Set Up Your Bouquet
- Make a traditional bouquet with just hydrangeas or add other flowers.
- Make use of unusual vases, such as apothecary jars with narrow necks and large bases.
- Hydrangea heads can be used as grids to hold other flowers firmly in place in mixed bouquets.
- Combine hydrangeas with greenery like lemon leaf or variegated pittosporum and flowers like roses, dahlias, or freesias.
Replace the water every day
- Water should be changed every other day because hydrangeas love chilly water.
- With every water change, trim the stems a little.
- To keep blossoms fresh, add flower food or a small amount of cane sugar to the water.
- The bouquet should not be exposed to direct sunlight.
Bring Wilting Blooms Back to Life
- Soak the entire hydrangea in lukewarm water for forty-five minutes if the flowers start to droop.
- After recutting the stem and shaking off any extra water, put it back in fresh water with flower food.
Do hydrangeas require annual pruning?
Every winter, before new growth starts, most hydrangea varieties should be pruned back. Pruning enables larger blooms and optimal blossoming. You can also shape your plant using it. Your shrub may appear unkempt and knotted if it isn't pruned. Additionally, woody, thick stems can yield fewer buds than younger growth.
How can hydrangeas be maintained in bloom?
First, make sure your hydrangeas have adequate space to grow when you plant them. Plants that are too near to one another may not grow as well and are more susceptible to fungal diseases, which can spread swiftly from one plant to another. Throughout the season, make sure your plants receive enough water and fertilizer and keep them out of direct sunshine. Remove dead blossoms to promote new growth and mulch frequently to ward against weeds. Compared to other flowering plants, hydrangeas may require a little more care, but the beauty of their vivid blossoms is unmatched.
Do hydrangeas need to be deadheaded?
Hydrangeas require deadheading, or removing dead blooms. Cutting the dead flower off the stem before the first set of leaves appears is the proper way to deadhead hydrangeas. As a result, the plant can concentrate its efforts on developing new flowers.