


7 Simple Steps to Perfectly Dye Easter Eggs
It's not as hard as you may think to create gorgeously colorful Easter eggs, and it's a great way to express your creativity. The finest aspect? To get colorful, Instagram-worthy results, you don't need a store-bought kit. You can become an expert at dying Easter eggs to perfection every time with a few simple tricks and common household objects.
RELATED: The Hidden Meanings of Easter's Classic Colors
Considerations to Make Before You Begin
Hard-boiling Easter eggs is the first step before beginning to dye them. For optimal results, make sure to brush up on your hard-boiling technique if it has been a while since you last performed this.
If you choose to use natural Easter egg dyes, you probably already have everything you need in your kitchen. You can make lovely, environmentally friendly dyes using spices and items from your refrigerator.
Don't worry if you run out of vinegar! Since the citric acid works, you can use lemon or lime juice instead. Pastel colors are always a pretty option for Easter, but omitting the vinegar will make the colors lighter. (However, vinegar is useful to have on hand for upcoming projects.)
Keep in mind that there are more options besides chicken eggs! Consider dying quail or duck eggs for a more unusual twist. Because of their various sizes and forms, these can give a playful touch.
Additionally, there are lots of inventive Easter egg decoration ideas that don't call for any dye, making them ideal for people with small children or those who are pressed for time!
What You'll Need
Equipment/Tools:
- Tongs, egg dipper, or slotted spoon
Materials:
- Hard-boiled eggs (cooled)
- Tarp, paper towels, or newspapers
- Bowl or cup deep enough to fully submerge an egg (one per color)
- 1/2 cup boiling water (per color)
- 1 teaspoon white vinegar (per color)
- 1 bottle liquid food coloring (20 drops per color)
- Rubber bands, waterproof tape, crayons, or wax (optional)
- Stickers, washi tape, gold leaf (optional)
Instructions

Step 1: Allow the eggs to cool Before handling the hard-boiled eggs, let them cool fully.
Step 2: Safeguard Your Surface To avoid stains, cover your work area with paper towels, a tarp, or a newspaper.
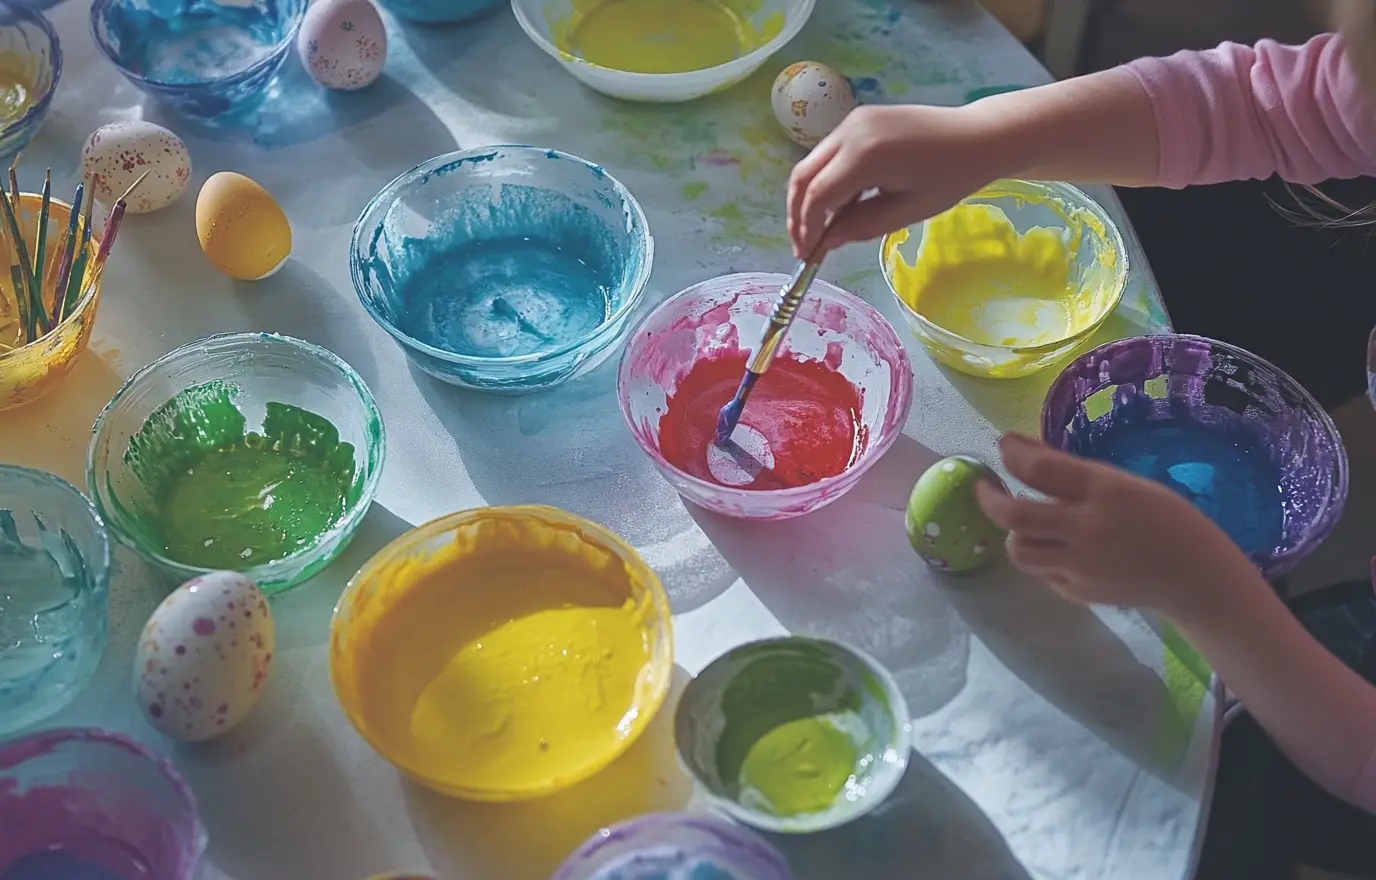
Step 3: Get Your Bowls Ready Make sure you have enough bowls for every color you intend to use. Add 1 teaspoon of vinegar to each bowl and fill them with enough hot water to completely submerge the eggs.
Step 4: Utilize food coloring Fill each bowl with roughly 20 drops of food coloring. The color gets darker the more food coloring you add. For unique hues, you can also experiment with color mixing.
Step 5: Make Designs Where you wish to keep the dye off the eggs, make stripes or patterns with rubber bands, wax, crayons, or waterproof tape.
Step 6: Egg Dyeing To guarantee even coloring, put the eggs into the dye using a slotted spoon or a standard spoon, flipping them occasionally. For up to five minutes, leave the egg in the dye. The color will get more vibrant the longer you leave it in. For a multicolored look, you can also dip different areas of the egg in different colors.
Step 7: Take Out and Dry Using a spoon, carefully remove the eggs and place them aside to dry. You can rest the eggs on toothpicks placed into foamboard while they dry to prevent fingerprints. For added flair, apply stickers, washi tape, or gold leaf once it has dried.
How to Keep Easter Eggs in Storage
Put your eggs in the refrigerator in an airtight container after the dye has completely dried. For around a week, they will remain fresh. Check out our advice on how to store hardboiled eggs properly to keep them fresh if you're unsure of when they'll expire.
Which is better for dying eggs: heat or cold?
Eggs dyed at room temperature or while cold work best. Eggs that are cold aid in the dye's better adhesion to the shell and assist avoid color saturation.For optimal effects, the dye bath prepared with boiling water should be heated.
How can Easter eggs be made more colorful?
Try these suggestions to add additional color to your Easter eggs:
- For a more striking hue, mix the dye with more food coloring.
- For richer colors, slightly increase the vinegar and decrease the water.
- For a more strong color, soak the egg for more than five minutes, checking for the correct hue every few minutes.
- For richer, jewel-toned hues, use brown eggs.
How can brown eggs be dyed the best?
With the standard dyeing procedure, brown eggs can provide rich, jewel-tone hues. Before dying, immerse the brown eggs in white vinegar for five minutes to achieve softer pastel hues. Lighten the eggs for a more pastel appearance by wiping away some of the brown with a cloth.
Other than food coloring, what else may be used to color eggs?
Easter eggs don't have to be dyed with food coloring. Here are a few natural substitutes:
- Beets or red cabbage for a pink, crimson, and purplish color
- For a cozy orange-brown hue, use onion skins.
- Various colored Kool-Aid packets on offer
Is eating eggs that have been dyed safe?
As long as food-grade dyes are used, dyed eggs are safe to consume. For optimal freshness, keep them appropriately and consume them within a week.