


12 Fun and Creative Easter Egg Ideas You'll Love
Simple ideas are sometimes the best when it comes to decorating Easter eggs, especially when children are involved. Even though elaborate designs might be beautiful, they frequently call for a large amount of supplies, a steady hand, and a great deal of craftiness. Fortunately, without the hassle, these lovely and simple Easter egg ideas are equally stunning.
These easy and creative methods are ideal for all your Easter egg requirements, whether you decide to manufacture your own egg color or forego it completely. You'll be shocked at how simple it is to make beautiful eggs that perfectly encapsulate the season.
After boiling your eggs, the fun begins as you pick colors and designs for your springtime masterpieces. The key is to enjoy the process of decorating eggs and enjoying Easter desserts. The final result is just a bonus because the memories you make along the way are what truly matter. With these simple and creative decorations, you’ll have a beautiful batch of eggs to proudly show off and a fun Easter tradition to enjoy!
1 | Confetti Easter Eggs
This decorating idea is perfect for both dyed and undyed eggs, so you can skip the dyeing process if you prefer.
What You’ll Need:
- Hard-boiled eggs
- Washi tape
- Scissors
How-To:
- Cut small shapes from the washi tape, such as triangles or lines.
- Arrange the tape shapes on the eggs to create a playful, confetti-like pattern.
2 | Cactus Easter Egg
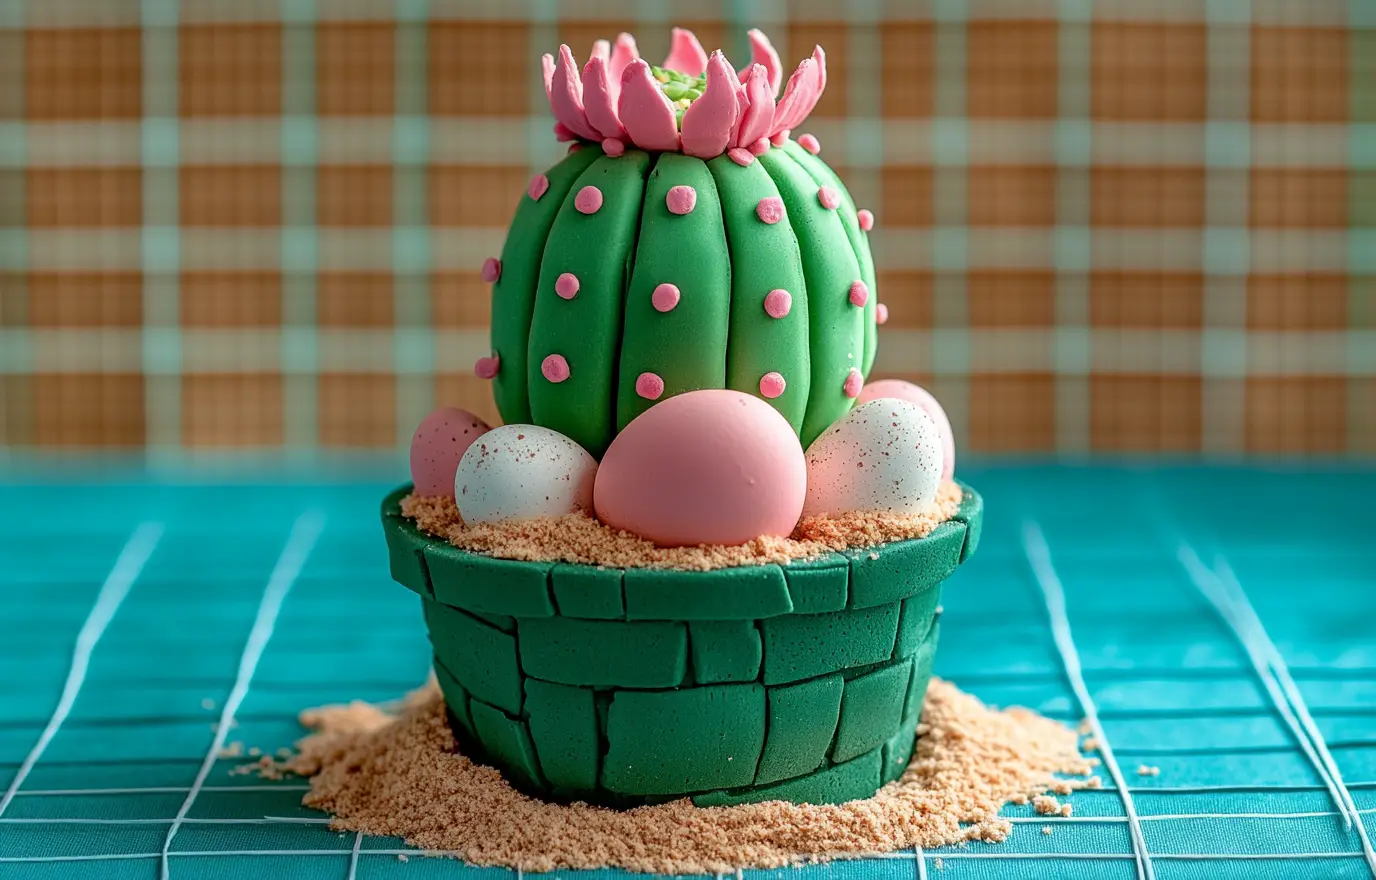
This houseplant-inspired Easter egg is both adorable and easy to make, adding a unique twist to your collection.
What You’ll Need:
- Vinegar
- Warm water
- Green food coloring
- Hard-boiled egg
- Mini terracotta pot
- Masking tape
- Sand
- Green marker
- Pink crepe paper or tissue (optional)
- Glue dot (optional)
How-To:
- Create the dye bath: In a wide cup or small bowl, mix 1 cup hot water with 1 tablespoon white vinegar. Stir in 20 drops of green food coloring.
- Dye the egg: Soak the hard-boiled egg in the dye bath until it reaches your desired hue. Remove the egg and pat it dry with a paper towel.
- Add cactus details: Use a fine-tipped dark green permanent marker to draw spikes or lines to mimic cactus needles.
- Prepare the pot: Cover the hole at the bottom of the mini terracotta pot with masking tape. Fill the pot with sand, and then nestle the dyed egg inside.
- Optional decoration: For an extra touch, cut a small flower from pink crepe paper and attach it to the top of the egg with a glue dot.
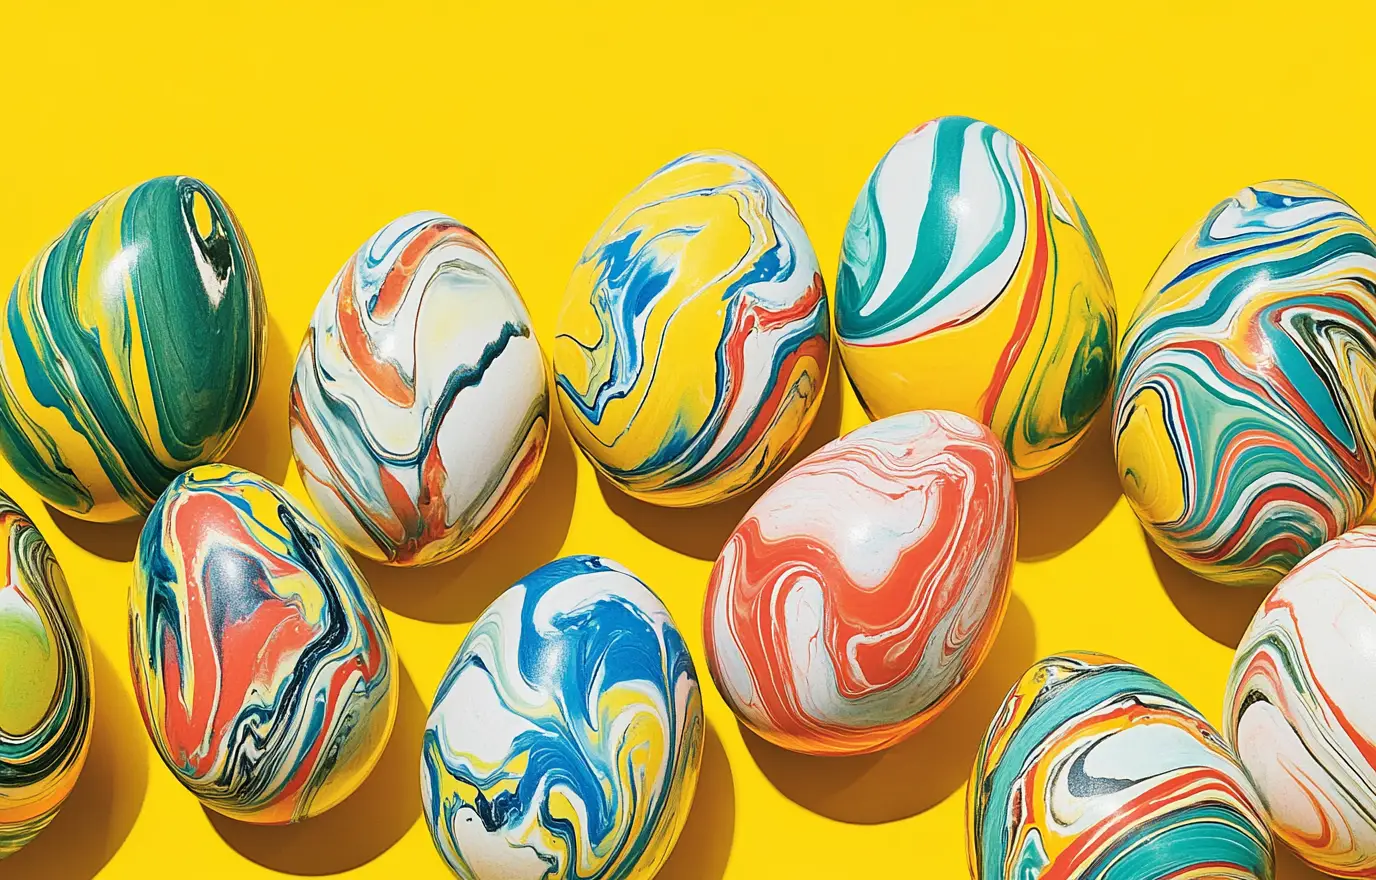
3 | Marbled Easter Eggs

These marbled Easter eggs are vibrant and fun to make, with minimal effort needed! The shaving cream gives them a beautiful, colorful swirl effect, making them perfect for an Easter egg hunt.
What You’ll Need:
- Baking pan or plate
- Shaving cream
- Liquid food coloring
- Toothpick or chopstick
- Hard-boiled eggs
- Drying rack
- Paper towels or cloth
How-To:
- Prepare the shaving cream: Cover a baking pan or plate with a layer of shaving cream.
- Add food coloring: Drop stripes and dots of various food coloring onto the shaving cream. Use a toothpick or chopstick to swirl the colors together, creating a marbled effect.
- Marble the eggs: Roll each hard-boiled egg in the colored shaving cream, ensuring a thick layer covers the eggs.
- Dry the eggs: Set the eggs on a drying rack or plate, and let them dry overnight (or at least for several hours).
- Clean up: Once dry, wipe the shaving cream off the eggs using paper towels or cloth.
4 | Cracked Easter Eggs
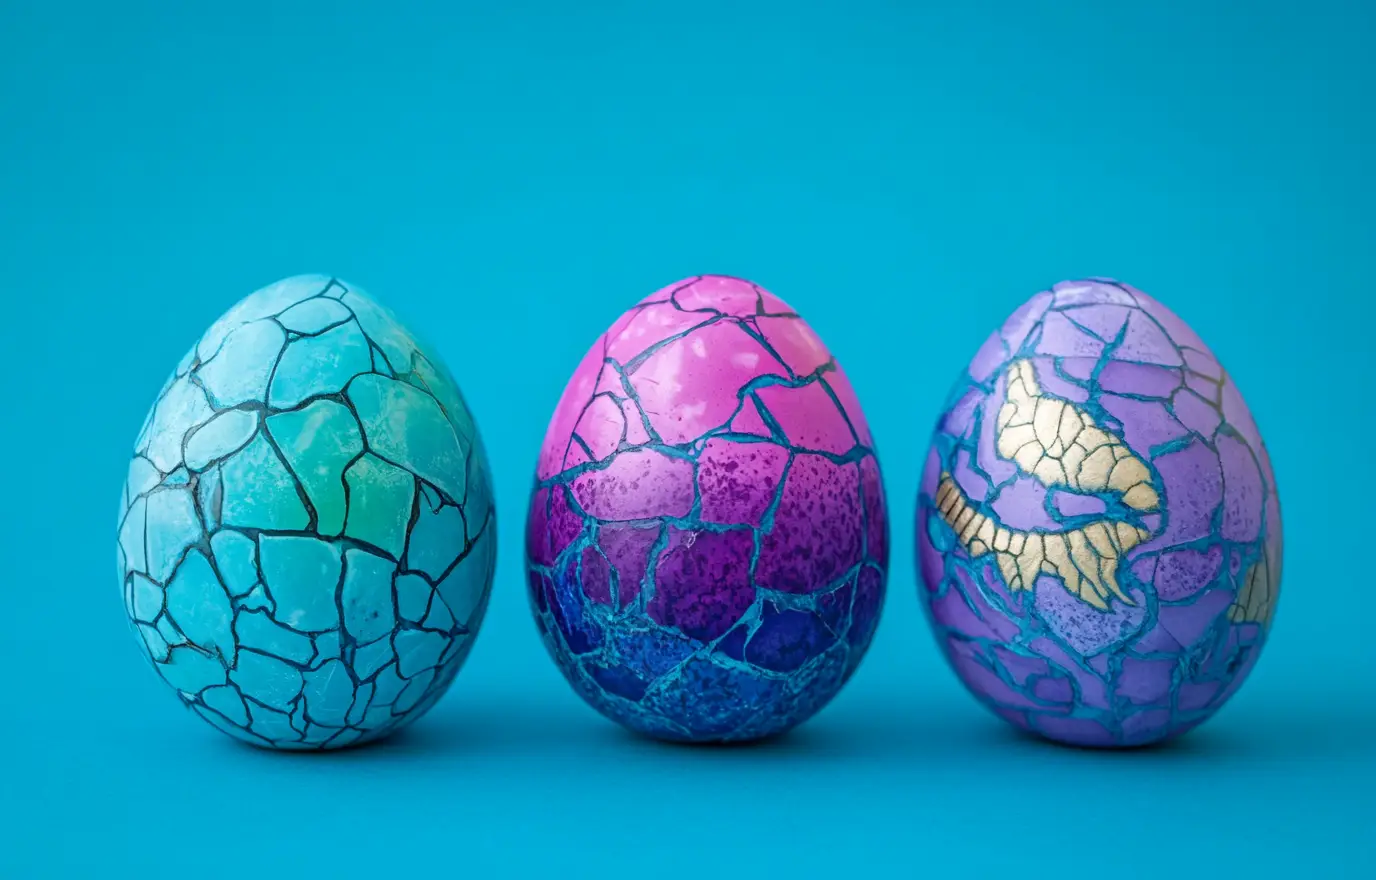
Sometimes, the simplest techniques create the most stunning results. These cracked Easter eggs turn a common accident into a beautiful design!
What You’ll Need:
- Hard-boiled eggs
- Spoon
- Food dye
- Vinegar
- Water
How-To:
- Cool the eggs: Let the hard-boiled eggs cool completely.
- Crack the eggs: Gently tap the eggs with the back of a spoon to create a fragmented, cracked surface all over.
- Prepare the dye: In a quart-size container, mix 1 tablespoon of food dye, 1 tablespoon of vinegar, and 3 cups of water.
- Dye the eggs: Submerge the cracked eggs in the dye mixture and let them soak for about 30 minutes. For a richer, more saturated color, let the eggs soak overnight in the refrigerator.
5 | Mustached Easter Eggs
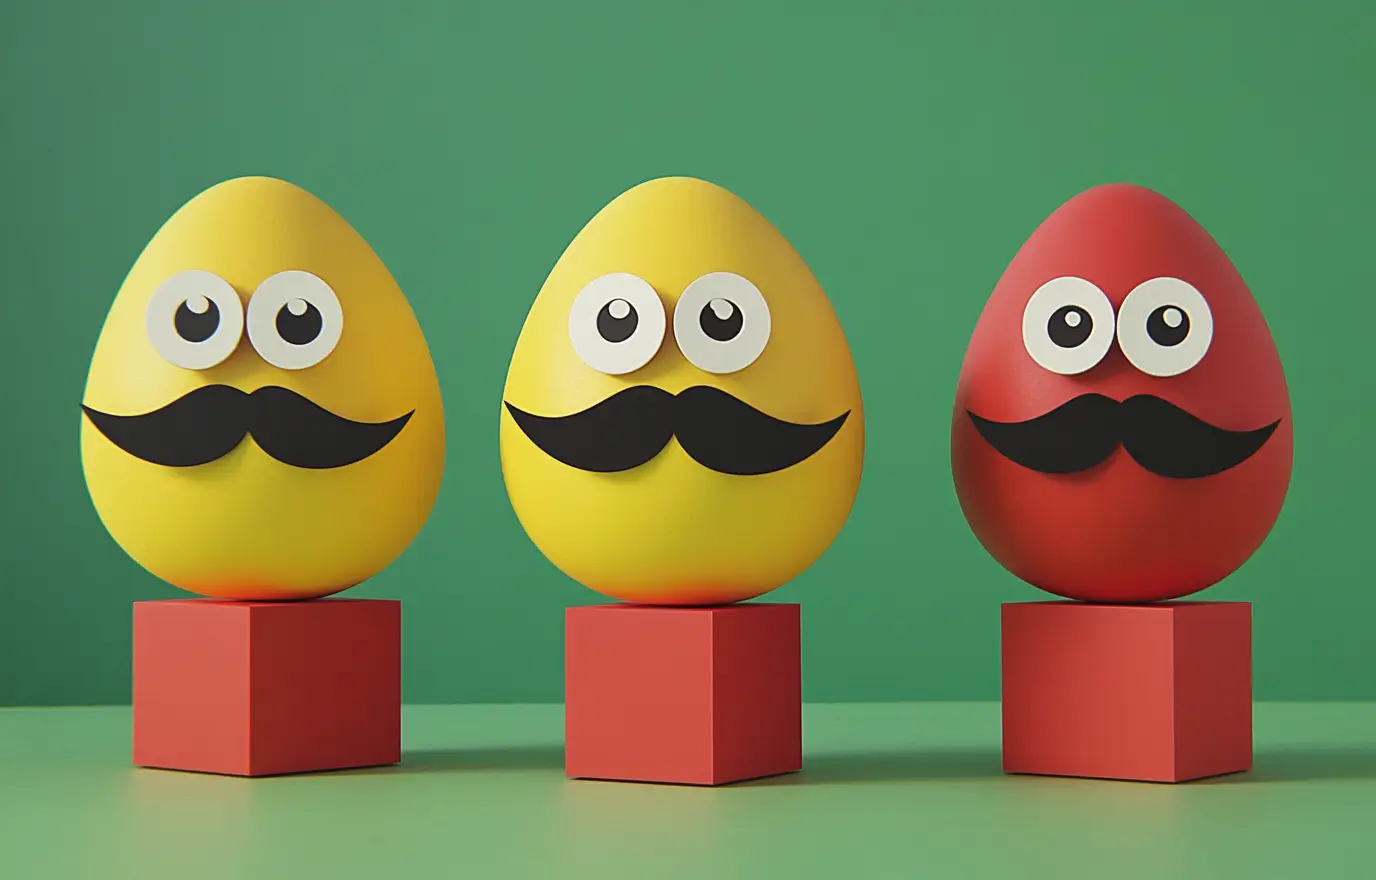
Add some playful charm to your Easter celebrations with these mustached eggs! They're sure to bring laughter and make for fun Easter Sunday table decor.
What You’ll Need:
- Hard-boiled eggs
- Adhesive googly eyes
- Colorful mustache stickers
- Construction paper
- Tape
- Scissors
- Glue dots
How-To:
- Decorate the eggs: Stick googly eyes and mustache stickers on the eggs to give them a fun, quirky look.
- Create stands: Cut out round shapes from construction paper to create little stands for your eggs. Tape the edges together to form a small base for each egg, ensuring they don’t tip over.
- Secure the eggs: Place the decorated eggs in the stands to keep them stable and ready to entertain!
6 | Printed Easter Eggs
If you're looking for a colorful, no-dye Easter egg idea, this one uses printed paper napkins to create vibrant and unique designs.
What You’ll Need:
- Paper napkins
- Scissors
- Hard-boiled eggs
- Craft glue
- Paintbrush
How-To:
- Prepare the napkins: Separate the colorful layer of the paper napkin and cut it into half-inch strips.
- Glue the strips: Brush craft glue onto the hard-boiled egg and apply the strips of napkin, aligning the design as you go. Trim the ends of the strips to fit.
- Finish the eggs: Once all the strips are applied, paint a layer of glue over the entire egg to smooth out any wrinkles and give the egg a satin finish.
7 | Easy Striped Easter Eggs
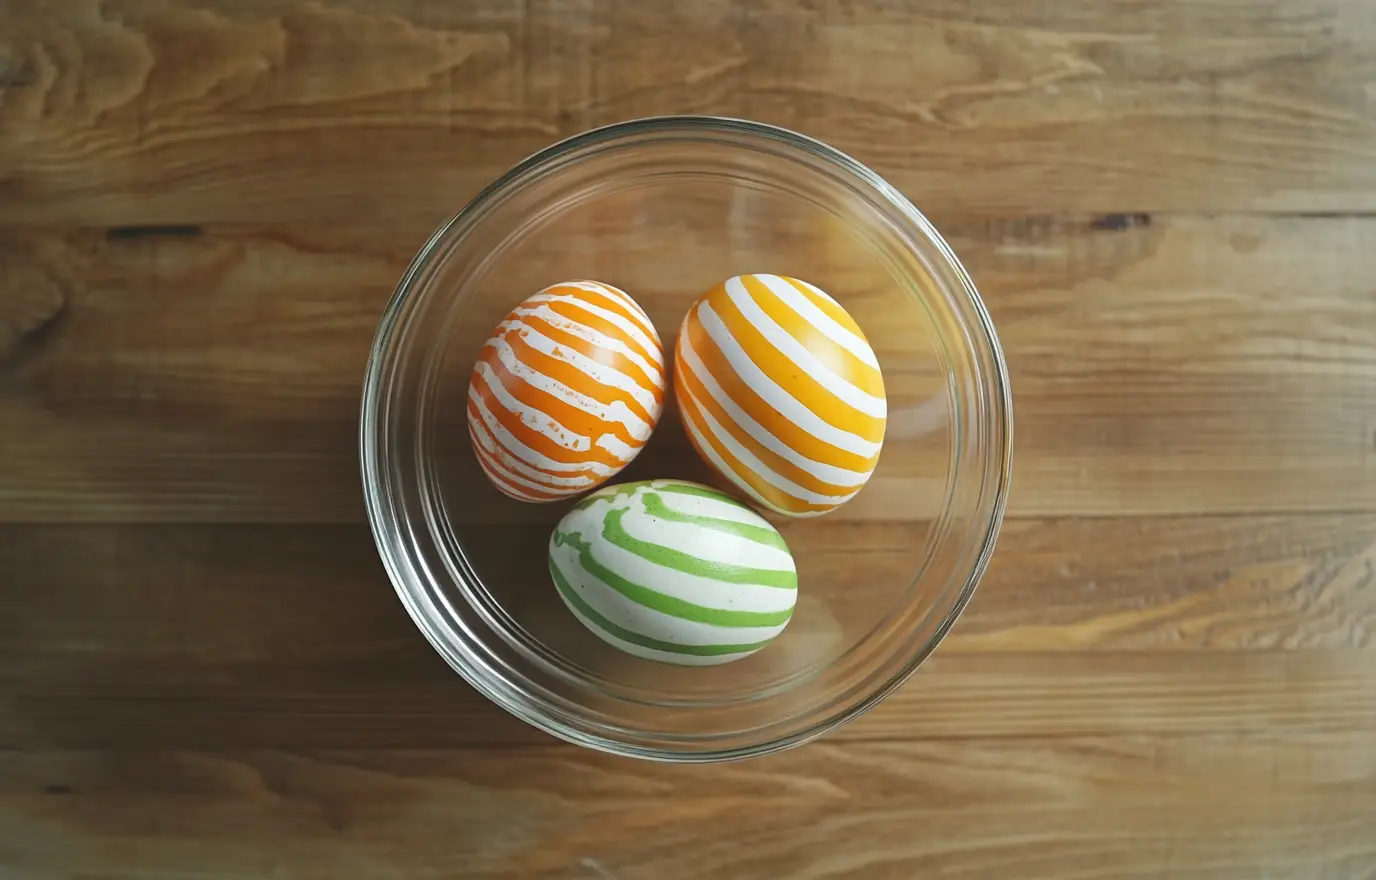
Create colorful, color-blocked Easter eggs using simple rubber bands and a few basic ingredients for a fun, striped look.
What You’ll Need:
- Hard-boiled eggs
- Rubber bands
- Heat-proof bowls
- Boiling water
- White vinegar
- Liquid food coloring
- Paper towels or clean cloth towel
- Large spoons or tongs
How-To:
- Wrap the eggs: Wrap each hard-boiled egg with several small rubber bands. Experiment with the number, thickness, and spacing of the bands to create different effects.
- Prepare the dye: In separate bowls, combine ½ cup boiling water, 1 teaspoon vinegar, and about 20 drops of liquid food coloring per bowl.
- Dye the eggs: With the rubber bands securely in place, submerge each egg into a bowl of dye and let it sit for about 5 minutes.
- Dry and remove rubber bands: After removing the egg, dry it off with a paper towel or cloth. Then, carefully remove the rubber bands to reveal your fun striped design.
8 | Chick and Bunny Easter Eggs
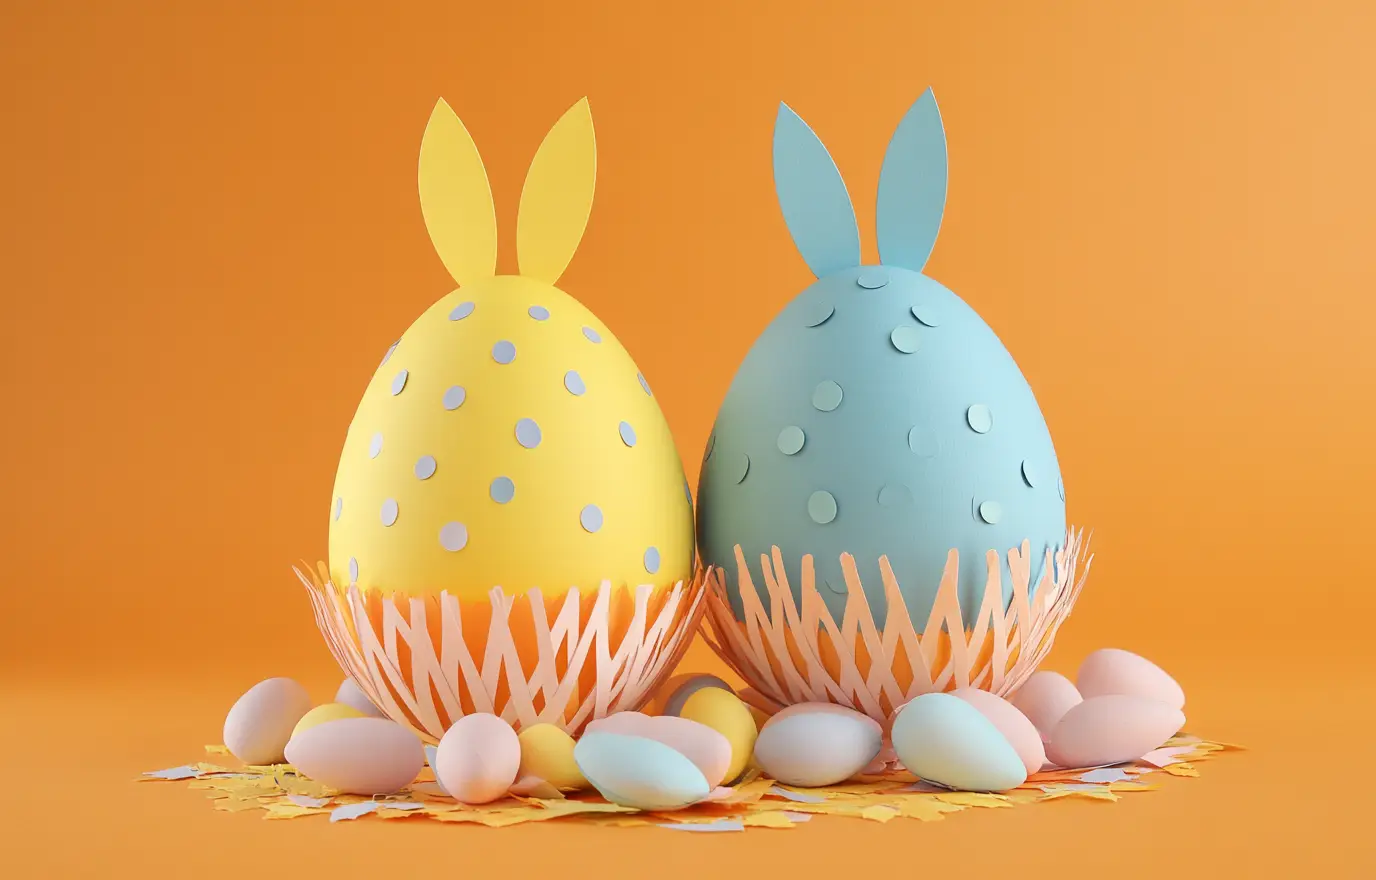
Celebrate Easter with adorable animal-inspired Easter eggs using simple materials and a bit of creativity.
What You’ll Need:
- Hard-boiled eggs
- Fine-tipped Sharpie
- Paper (white, pink, and orange or yellow)
- Scissors
- Craft glue
- Toilet paper tube
- Yellow and green paint
- Paintbrush
- Paper towel tube
For the Chick:
- Draw the eyes: Use a fine-tipped Sharpie to draw eyes on the egg.
- Create wings and beak: Cut out paper wings and a beak from the paper. Attach them to the egg with craft glue.
- Make the nest: Cut a portion of a toilet paper tube into a spiral strip. Paint the tube yellow, and when dry, shape it into a tangled nest. Place the decorated egg inside.
For the Bunny:
- Draw the face: Use the Sharpie to draw eyes, a nose, and whiskers on the egg.
- Create bunny ears: Cut out bunny ears from paper and attach them to the egg with craft glue.
- Make the grass: Cut a segment of a paper towel tube, then cut one edge in a jagged shape to mimic grass. Paint the tube green. If the tube is too wide for the egg, cut a slit and tape it shut to create a smaller diameter. Place the decorated egg inside.
9 | Nature-Themed Easter Eggs
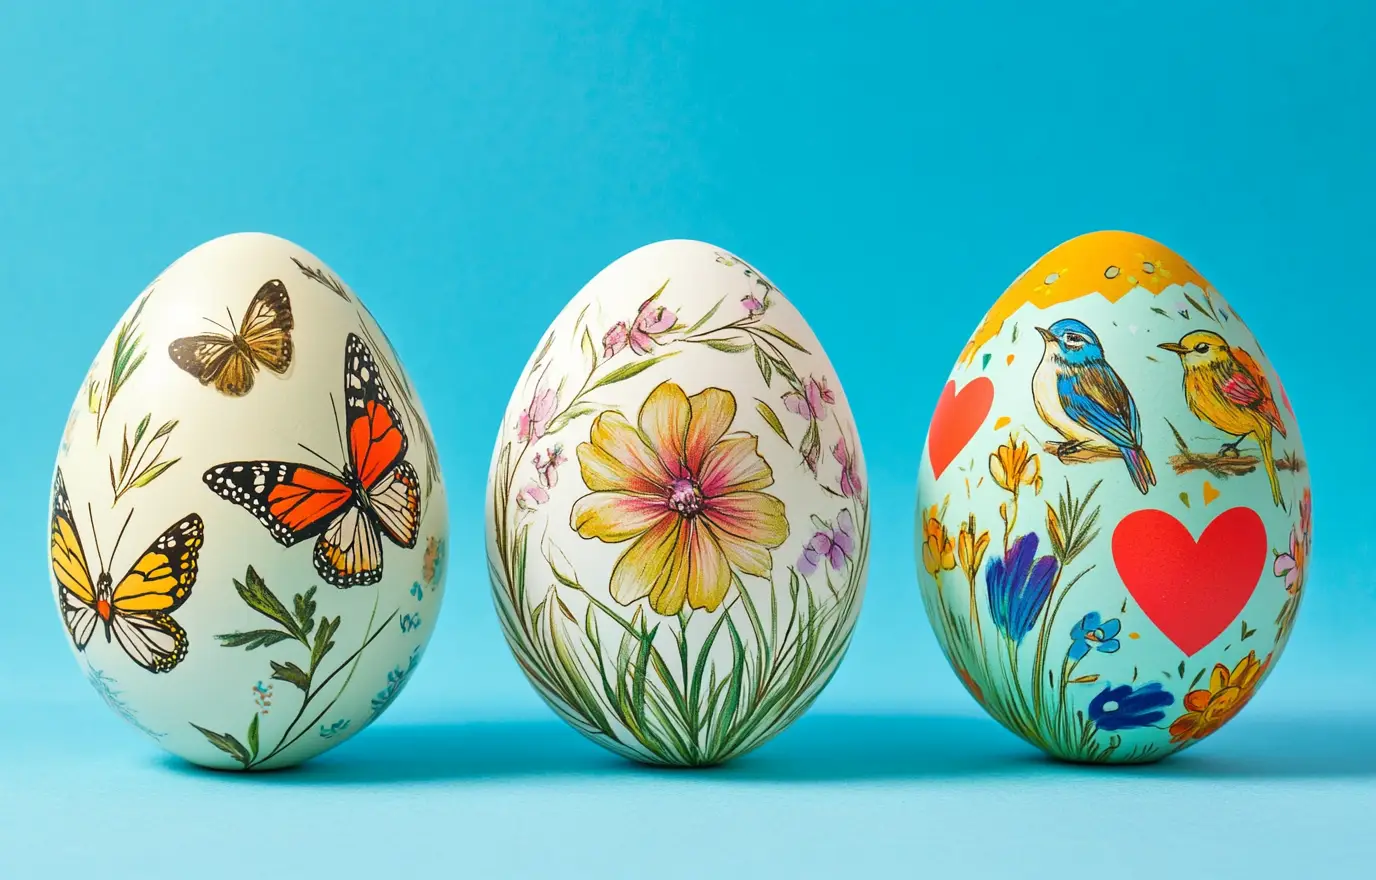
For nature lovers, these eggs are a simple and fun way to celebrate with wildlife and symbols from the natural world.
What You’ll Need:
- Hard-boiled eggs
- Nature-themed stickers (butterflies, bees, birds, hearts, etc.)
How to:
- Apply your favorite nature stickers to the hard-boiled eggs. Arrange them in fun patterns or create a natural scene!
10 | Natural-Dyed Easter Eggs
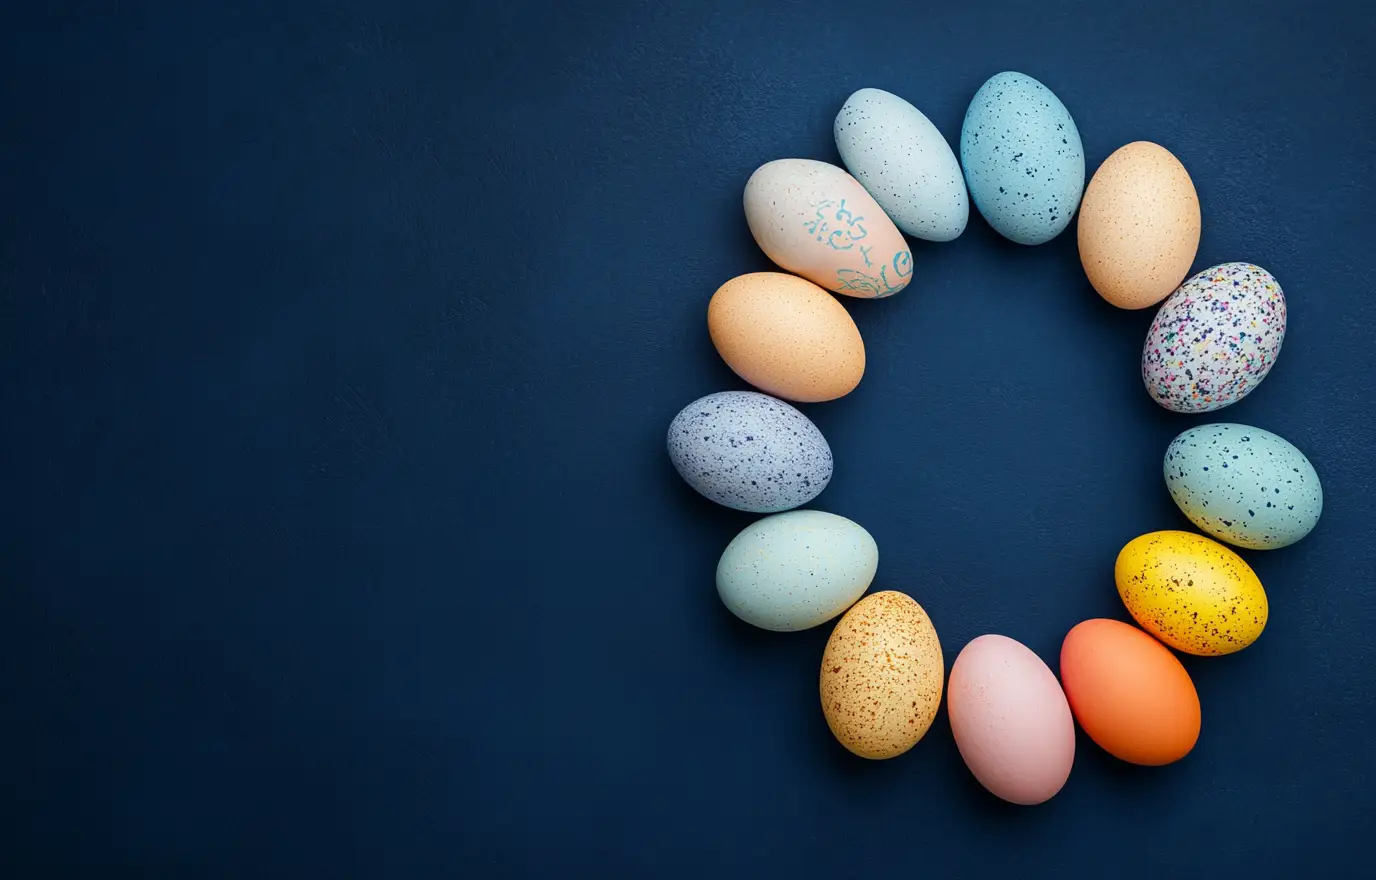
For soft, pastel colors, try making your own natural dye using everyday kitchen ingredients.
What You’ll Need:
- Hard-boiled eggs
- White vinegar
- 2 cups chopped red cabbage (for purple), skins of 4 yellow onions (for yellow), or 3 tablespoons turmeric (for orange)
- Water
- Strainer
- Tongs
- Cloth or paper towels
How to:
- Wipe the eggs with white vinegar to prepare them for dyeing.
- For purple: Boil 2 cups of chopped red cabbage in water for 10 minutes, then strain. For yellow: Boil the skins of 4 yellow onions in water for 10 minutes, then strain. For orange: Mix 3 tablespoons of turmeric in 2 cups of boiled water.
- While the dye is still hot, place the eggs into the liquid. The longer they sit, the deeper the color.
- Use tongs to remove the eggs, then place them on a cloth or paper towels to dry.
RELATED: 7 Simple Steps to Perfectly Dye Easter Eggs
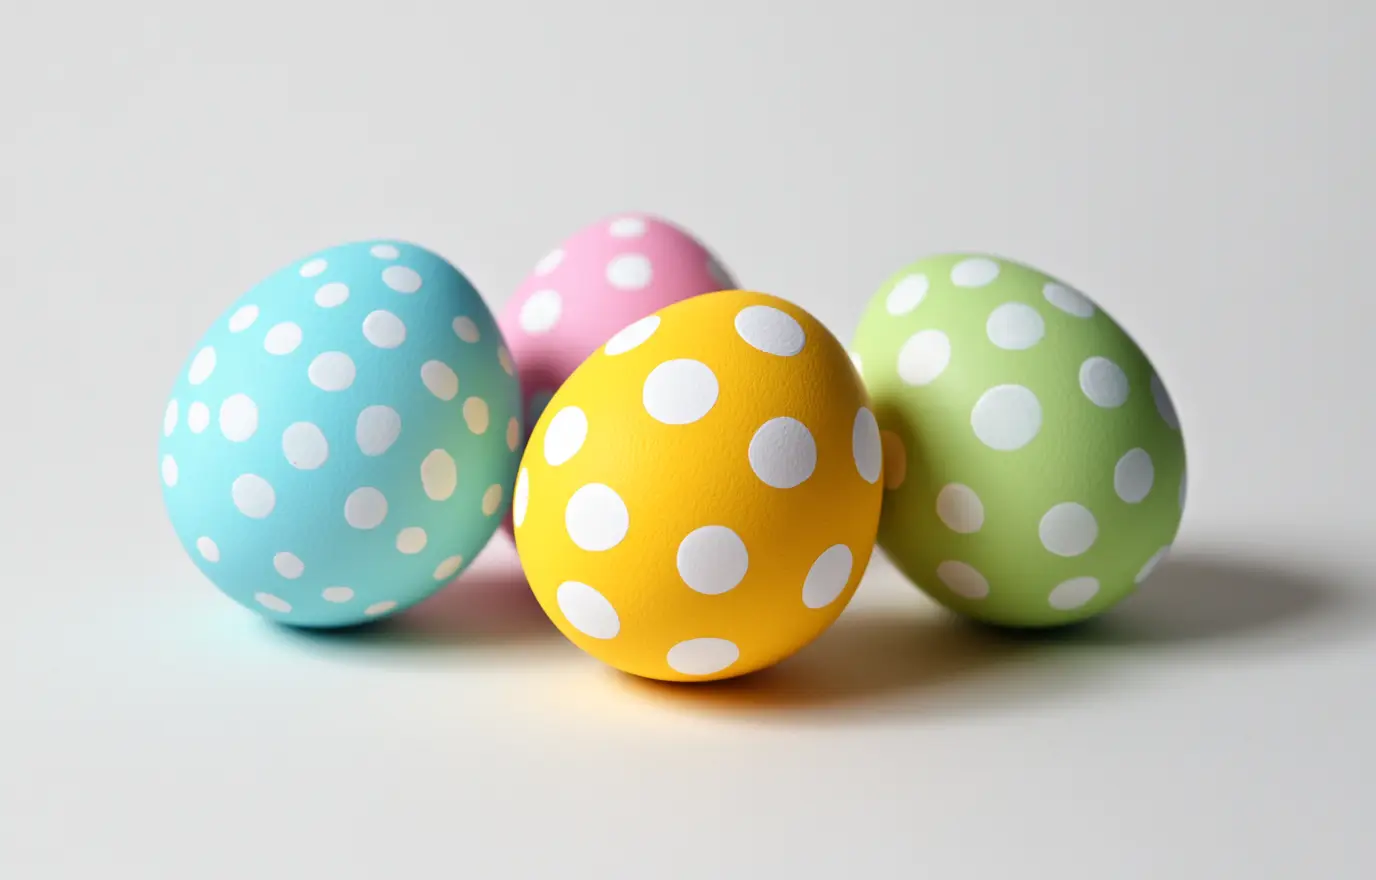
11 | Dotted Easter Eggs
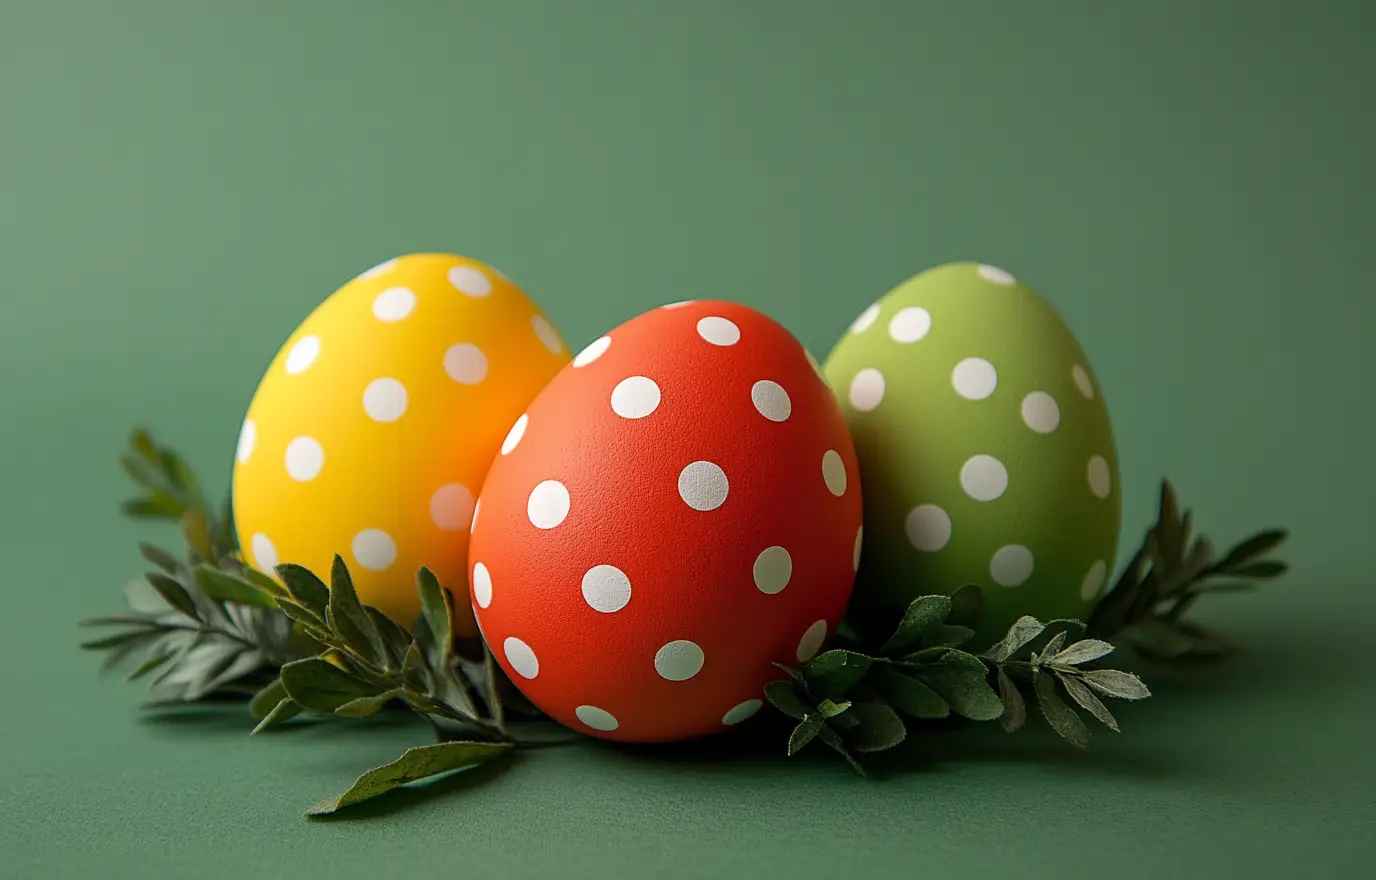
Create a fun and textured look with magazine or newspaper cutouts!
What You’ll Need:
- Magazines and newspapers
- Hole punch
- Hard-boiled eggs
- Paint brush
- Craft glue
How to:
- Use a hole punch to create small dots from the pages of magazines or newspapers.
- Use a paintbrush and craft glue to apply the dots to the surface of the eggs.
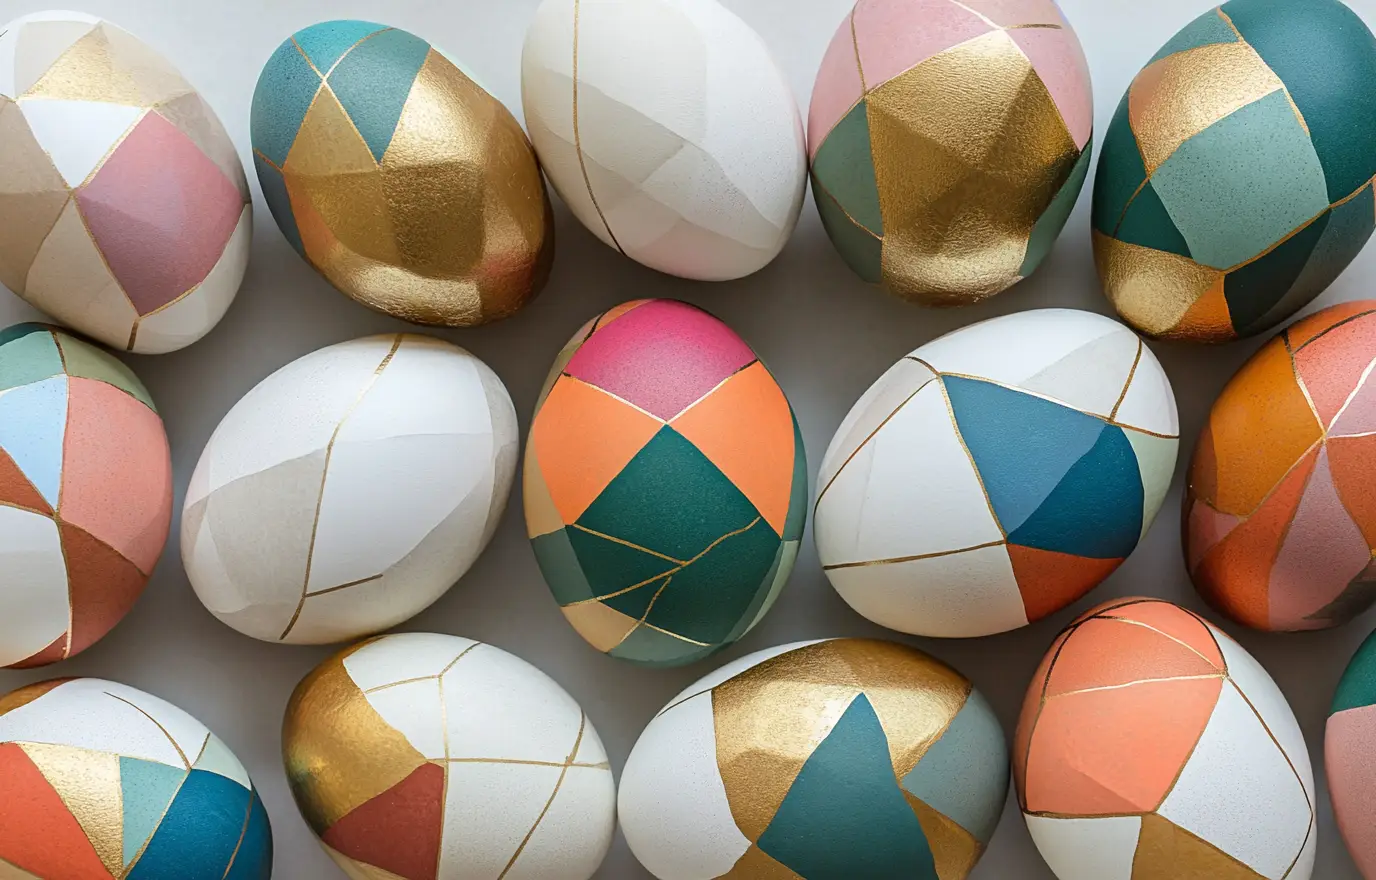
12 | Personalized Eggs With Letters

Create custom Easter eggs by spelling names, initials, or favorite phrases!
What You’ll Need:
- Hard-boiled eggs
- Letter stickers
How to:
- Apply letter stickers, decals, and other decorations to the eggs.
RELATED: The Hidden Meanings of Easter's Classic Colors